How to curl your hair with your ghd Styler

ghd is of course famous for hair straightening, but did you know that your ghd styler can also create beautiful curls?
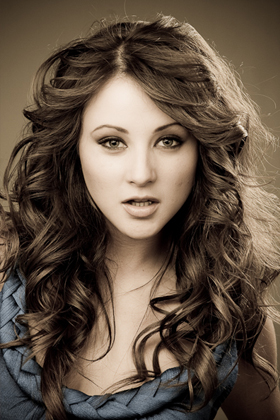
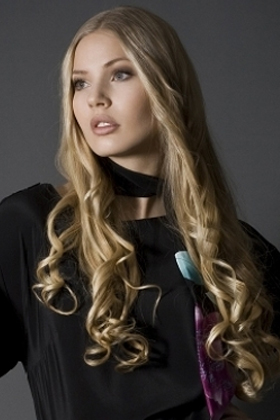
Since the launch of the ghd IV Styler in 2007, ghds can easily create the loose, bouncy curls often sported on the red carpet by celebrities such as Megan Fox and Jennifer Aniston and the new Gold Series stylers make it even easier.
Here is our guide to curling your hair with your ghd IV Styler.
What you will need
To create perfect ghd curls you will need the following: -
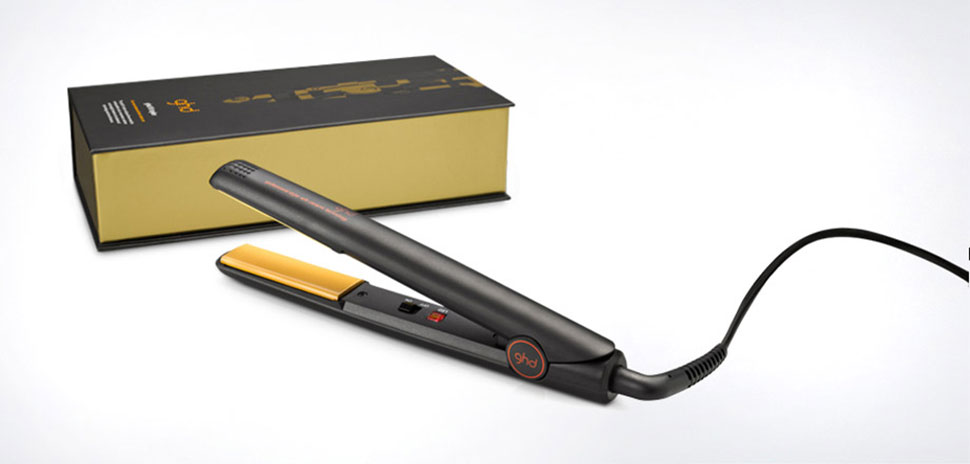
- ghd Styler
- A good quality hair brush
- Sectioning clips
For tighter curls I would recommend using the ghd Gold Classic Styler and for loose curls use the ghd Gold Max Styler.
Step 1: Wash and shampoo your hair
It is important to begin by washing and conditioning your hair, using the correct shampoo and conditioner for your hair type. Using a ghd styler on washed hair will produce better curls and give a shinier, smoother finish.
Tip - It really is worth spending a bit extra on a high quality, salon grade shampoo as they do make a big difference to the condition of your hair.
Step 2: Blow dry your hair
After washing, finger dry your hair by running your fingers through your hair like a comb and blow drying at the same time. Drying your hair is important to minimise heat damage from your ghd Styler.
A good quality dryer such as the ghd Air will reduce drying time and improve the condition of your hair.
Brush thoroughly and apply a heat-protection spray to the hair, which again will help to prevent damage from the ghd Styler.
Step 3: Section hair
Before beginning to curl, you should section your hair into five equal parts, which will make it easier to curl your hair using your ghds.
Each section of your hair should be clipped. Two sections should be taken from the back of your head, two from the top of the head, and one separate section should be taken from the crown.
Step 4: Creating ghd curls
Next, the fun part... the styling! Hold your ghd Styler vertically and take hair from the back of your head, close to the nape of your neck that is 1 inch in width. Clamp your ghd shut on the hair, holding the ends of the section with your other hand.
Rotate the Styler by 180 degrees, and move it slowly down the length of hair. Upon reaching the end, unclamp the ghds and release the newly formed curl.
Continue this process with all five sections of your hair, finishing with the section of the hair at the crown.
Step 5: Finish with shine serum
After curling, I like to apply a small amount of shine serum to my curls. This loosens them up and gives them a slightly disheveled look, which I feel makes them look more natural. To ensure your curls last longer, spray your hair with hairspray, which will have the added benefit of protecting your hair from moisture and humidity.
Our Top Tips
Tips - After curling your hair, feel free to play about with your curls, loosening and separating them as you see fit. This can result in a more contemporary look.
Tip - The more time you take to perform the steps above, the tighter your curls will be, and the bigger the section of hair you take to be placed inside the ghd, the larger and looser the curl will be. Experiment with different amounts of time and hair taken, to find the perfect look for you.
Tip - If you are unhappy with how a certain curl turned out, do not try to redo it immediately. Instead wait for it to cool and repeat step 4.
Follow these steps above and you will create beautiful ghd curls, fit for the red carpet every time!

- ghd Articles (8)
- ghd Guides (10)
- ghd Tutorials (4)
- ghd FAQs (3)
- ghd Discount Codes (2)